Embarking on your gardening journey is one of the most fulfilling steps you can take toward a sustainable, self-sufficient lifestyle. Whether you are transforming a bright urban apartment balcony in New York City or San Francisco, utilizing a sunny backyard patio in Austin, Texas, or taking advantage of a backyard plot in Seattle, Washington, starting with the right foundation is the ultimate key to success.
For beginners, the single most important decision you will make isn’t what seeds to plant or which watering can to buy—it is how you build your soil.
Many first-time gardeners make the mistake of digging up native dirt from their yard or buying the cheapest generic topsoil off the shelf, only to watch their plants struggle, yellow, and wither. Healthy plants require healthy living soil. By building your base home garden exclusively with natural, organic soils and amendments, you create a self-sustaining ecosystem that feeds your plants naturally, retains moisture efficiently, and produces nutrient-dense vegetables, herbs, and flowers without synthetic chemical fertilizers or pesticides.
This comprehensive, expert-backed guide walks you through everything you need to know to set up your very first organic home garden from scratch.
1. Understanding Living Soil vs. Dead Dirt
Before getting your hands dirty, it is essential to understand the fundamental difference between standard dirt and true living organic soil.
- Dirt is essentially an inert matrix of mineral particles (sand, silt, and clay) that holds a plant upright. It lacks biological activity, organic matter, and the complex nutrient web required for optimal plant growth.
- Living Organic Soil is a dynamic, breathing ecosystem. It is teeming with billions of beneficial microorganisms, bacteria, fungi (such as mycorrhizae), earthworms, and micro-arthropods. These tiny organisms break down organic matter and convert it into bio-available nutrients that plant roots can absorb easily.
When you use organic soils, you are not just feeding the plant; you are feeding the soil food web, which in turn takes care of your plants organically.
2. The Core Components of an Organic Soil Mix
To build a premier organic soil base for raised beds, containers, or indoor setups, you need to blend three core ingredients in the correct ratios. This formula mimics the rich forest floor or prairie topsoil found in nature.
A. The Base: Aeration and Drainage (Perlite, Pumice, or Rice Hulls)
Plants need oxygen at their roots just as much as they need water. If soil is too dense and compact, roots suffocate, and root rot sets in.
- Perlite: Expanded volcanic glass that creates tiny pockets of air in the soil and keeps it lightweight.
- Pumice: A heavier, highly durable volcanic rock that provides exceptional long-term aeration for permanent raised beds.
- Rice Hulls: A sustainable organic alternative to perlite that adds silica to the soil as it slowly breaks down.
B. The Structure: Moisture and Humus (Peat Moss or Coco Coir)
This component acts like a sponge, holding onto vital water and nutrients so they don’t instantly wash away when you water your plants.
- Coco Coir: A sustainable byproduct of the coconut industry. It has a neutral pH and exceptional water retention.
- Sphagnum Peat Moss: A classic organic amendment that aids in moisture retention and adds a slight, beneficial acidity to the soil.
C. The Nutrition: Organic Compost and Worm Castings
This is the lifeblood of your garden. High-quality organic compost provides the primary nutrients (Nitrogen, Phosphorus, Potassium) and a diverse biome of beneficial microbes.
- Worm Castings (Vermicompost): Often called “black gold,” worm castings are nutrient-dense, gentle on tender roots, and packed with enzymes and beneficial bacteria that boost plant immunity.
3. The Ultimate Beginner Organic Soil Recipe (The “Super Soil” Blend)
If you are filling raised beds or large containers, mixing your own custom organic soil is far more cost-effective and superior in quality than buying pre-bagged commercial soils.
The Classic Equal-Parts Ratio (Modified “Cornell” or “Mel’s Mix” style):
- 1/3 High-Grade Organic Compost (or a 50/50 split of compost and worm castings)
- 1/3 Aeration Material (Perlite or Pumice)
- 1/3 Moisture Retention Base (Coco Coir or Peat Moss)
Essential Organic Nutrient Amendments (Per Wheelbarrow / 3 Cubic Feet of Mix):
To ensure your soil has sustained energy for an entire growing season, blend in these natural organic amendments:
- Kelp Meal (2 cups): Rich in natural trace minerals, amino acids, and plant growth hormones (cytokinins) that stimulate root development.
- Alfalfa Meal (2 cups): Provides a slow-release source of nitrogen and triacontanol, a natural plant growth stimulant.
- Bone Meal or Fish Bone Meal (2 cups): An excellent organic source of phosphorus for robust root growth and heavy flowering/fruiting.
- Crushed Oyster Shell or Garden Lime (1 cup): Buffers soil pH and supplies essential calcium to prevent blossom-end rot in tomatoes and peppers.
- Azomite or Glacial Rock Dust (2-3 cups): Replenishes broad-spectrum micronutrients and trace minerals washed out of modern soils.
4. Step-by-Step Setup Guide for Beginners
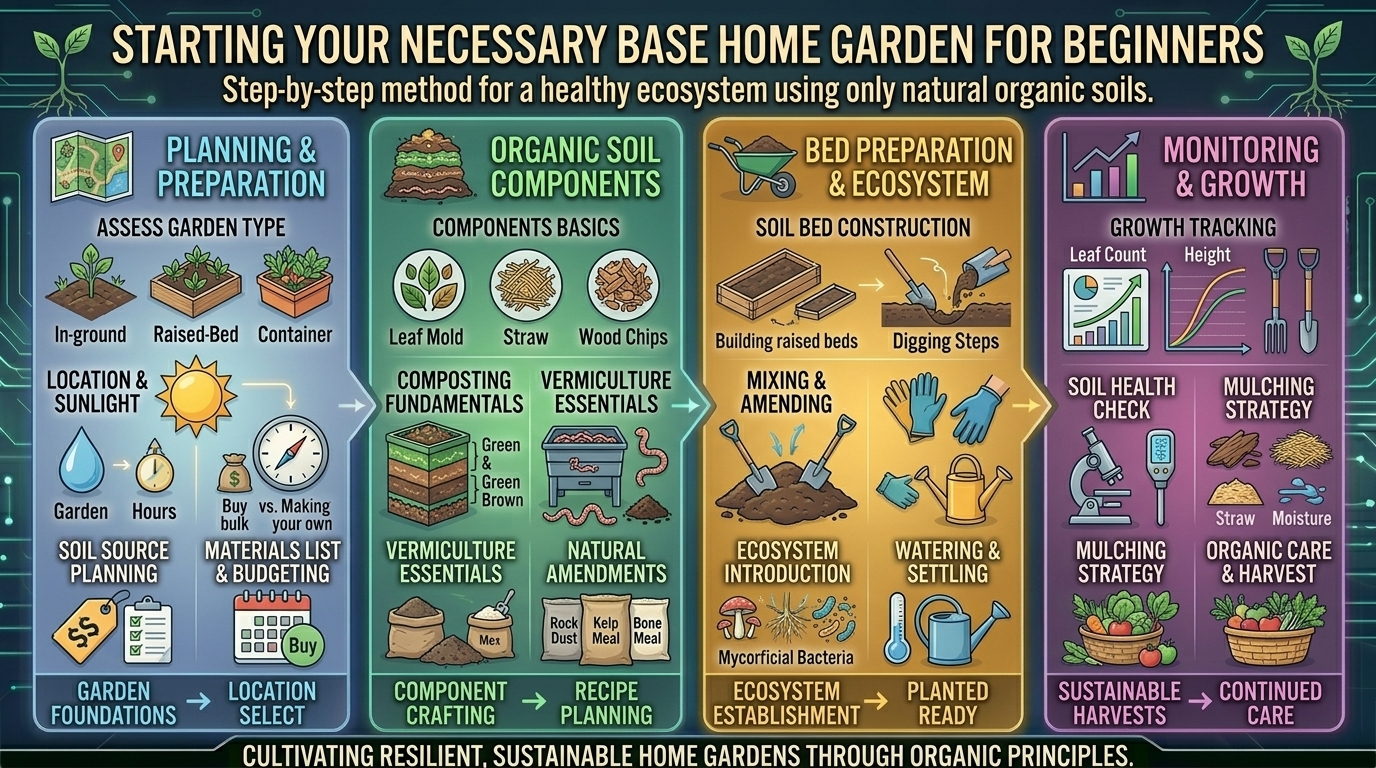
Setting up your organic base garden requires a logical sequence of steps. Follow this blueprint to ensure success from day one.
Step 1: Choose Your Gardening Format
- Raised Garden Beds: Perfect for backyards (whether in suburban Texas or rural Washington). They offer superior drainage, prevent soil compaction, and make weeding easier.
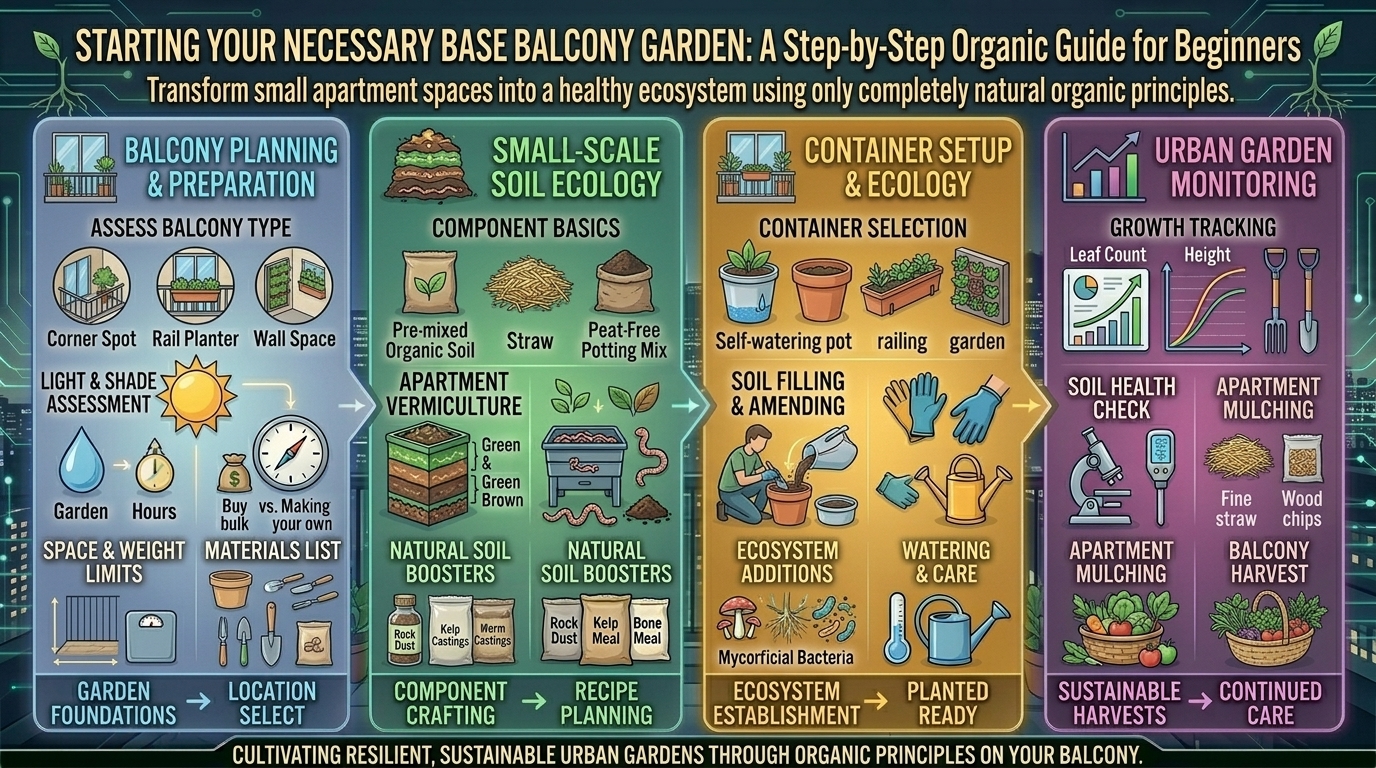
- Containers & Grow Bags: Ideal for urban spaces, balconies, and patios (San Francisco, New York City). Fabric grow bags naturally air-prune plant roots, preventing root-bound plants.
Step 2: Layer and Mix Your Soil
If using raised beds, fill them with your custom organic soil blend. Mix it thoroughly so the dry amendments and aeration materials are evenly distributed throughout the coco coir and compost base.
Step 3: Pre-Moisten Your Soil (Crucial Step!)
Dry organic soil, especially when it contains peat moss or coco coir, is hydrophobic—meaning it repels water initially. Before planting anything, water your soil mix thoroughly and let it sit for 24 to 48 hours. This allows the organic ingredients to hydrate and awakens the beneficial microorganisms.
Step 4: Mulch the Surface
Never leave your organic soil naked under the sun or indoor lighting. Cover the top layer with a 2-inch layer of organic mulch (such as straw, shredded hardwood bark, or chopped leaves).
- Why? Mulch prevents soil moisture from evaporating too quickly, protects delicate surface roots from temperature fluctuations, and stops weed seeds from germinating.
Step 5: Plant and Inoculate
Plant your beginner-friendly crops (like bush beans, lettuce, radishes, basil, and cherry tomatoes). When planting, dust the root balls with a pinch of mycorrhizal fungi powder. These beneficial fungi form a symbiotic relationship with plant roots, drastically expanding their surface area to absorb water and nutrients.
5. Maintaining Your Living Organic Soil Year-Round
Unlike synthetic gardening—where you pour bottled chemical fertilizers into dead dirt every week—organic gardening is about building a self-sustaining system. Maintenance is simple if you follow natural cycles.
- Feed the Soil, Not the Plant: Instead of synthetic quick-fix fertilizers, top-dress your soil with a fresh 1-inch layer of organic compost or worm castings halfway through the growing season.
- Cover Cropping / No-Till: In permanent raised beds, avoid turning or tilling the soil aggressively year after year, as tilling destroys the delicate fungal networks (mycelium) and earthworm channels. Instead, practice “no-till” gardening by planting cover crops (like clover or winter rye) in the off-season to fix nitrogen and build organic matter.
- Water with Care: Because organic soil is alive, overwatering can drown the beneficial microorganisms, while letting it dry out completely can cause them to go dormant or die. Keep soil consistently moist like a wrung-out sponge.
6. Frequently Asked Questions (FAQ)
1. Can I just use regular dirt from my backyard for my home garden?
It is strongly advised against using native backyard dirt in containers or raised beds. Native yard dirt is often too compact, lacks adequate organic matter, drains poorly, and may contain weed seeds, lawn chemicals, or plant pathogens. Always start with a custom or purchased organic soil blend.
2. What is the difference between peat moss and coco coir?
Peat moss is harvested from ancient peat bogs, is naturally slightly acidic, and holds moisture brilliantly. Coco coir is a renewable, eco-friendly byproduct of coconut processing with a neutral pH. Both serve the exact same purpose in soil mixes, though many modern organic gardeners prefer coco coir for sustainability reasons.
3. Do I need to buy chemical fertilizers if I use organic soil?
No. A properly built organic soil amended with compost, kelp meal, and rock dust contains all the macro and micronutrients your plants need. If your plants show signs of heavy feeding during peak fruiting seasons, you can supplement with organic liquid fish emulsion or kelp tea.
4. How long does organic soil last before it loses its nutrients?
Living organic soil actually improves with age as the microbial life multiplies and breaks down organic matter. Instead of throwing old soil away at the end of a season, simply “re-amend” it by mixing in fresh compost, worm castings, and a handful of organic fertilizer meals.
5. Why is my new organic soil growing white fuzzy mold on top?
Do not panic! That white fuzz is almost always beneficial saprophytic fungi or mycelium breaking down organic matter in your compost. It is a sign of a healthy, active living soil ecosystem and is completely harmless to your plants.
6. Can I reuse potting soil from last year?
Yes, absolutely. To reuse last year’s soil, dump it into a large bin or tarp, remove old dead roots, break up any clumps, and mix in fresh organic compost and a light dusting of slow-release organic amendments to replenish lost nutrients.
7. How do I know if my organic soil is draining properly?
Dig a small hole about 6 inches deep and fill it with water. If the water drains away at a steady rate (about 1 to 2 inches per hour), your drainage is ideal. If it pools for hours, your soil has too much compact clay or lacks adequate perlite/pumice.
8. Is compost the same thing as topsoil?
No. Compost is fully decomposed organic matter (food scraps, yard waste, manure) that is extremely rich in nutrients. Topsoil is the outermost layer of earth, usually composed mostly of minerals. Pure compost is often too rich or dense to use by itself; it must be blended with aeration and structure materials.
9. How do I test the pH of my organic soil without expensive equipment?
While electronic pH meters or chemical drop kits are inexpensive and accurate, you can also perform a simple DIY “jar test” or vinegar/baking soda test to get a rough idea of soil acidity or alkalinity. For most organic vegetable gardens, a pH between 6.0 and 7.0 is ideal.
10. What are the best beginner vegetables to grow in organic soil?
Radishes, leaf lettuce, Swiss chard, bush beans, zucchini, and cherry tomatoes are exceptionally forgiving, grow rapidly, and thrive brilliantly in well-amended organic home garden soils.
Conclusion
Setting up your base home garden using 100% natural organic soils is one of the most rewarding investments you can make in your health, your home, and the environment. By understanding the magic of living soil, balancing your mix with proper aeration, moisture retention, and nutrient-dense organic amendments, you set the stage for an abundant, thriving harvest.