Reusing garden soil is a fantastic way to save money, reduce waste, and build sustainable gardening habits. However, soil that has grown a previous season of plants often harbors hidden microscopic threats. Fungal spores (like Verticillium and Fusarium), bacterial pathogens, parasitic nematodes, weed seeds, and overwintering insect eggs can quickly spell disaster for your next planting cycle.
If you are gardening in diverse climates—ranging from the humid, pest-heavy summers of New York and Texas, to the Mediterranean dry spells of California, San Francisco, and the damp, spore-friendly Pacific Northwest conditions of Washington—proper soil sanitation is non-negotiable.
This comprehensive guide explores everything you need to know to safely, effectively, and thoroughly sterilize your old garden soil for a thriving, disease-free harvest.
Understanding Why Old Garden Soil Needs Sterilization
When plants finish their life cycle or succumb to disease, pathogens do not simply vanish. They adapt, lie dormant, and wait in the soil matrix.
- Fungal Pathogens: Spores from damping-off fungi, root rot (Phytophthora), and powdery mildew can survive months or years in untreated dirt.
- Insect Invaders: Pests like fungus gnat larvae, thrips pupae, and root aphids lay microscopic eggs just beneath the surface.
- Weed Seeds: Wind-blown or dropped seeds easily infiltrate uncovered garden beds and pots over the growing season.
Regional Considerations for Soil Health
- Texas & New York: High humidity and seasonal extremes create prime environments for aggressive soil-borne fungi and persistent root rot.
- California & San Francisco: Coastal fogs and dry interior heat cycles mean soil can alternate between breeding grounds for moisture-loving molds and hard, compacted beds filled with resilient pest casings.
- Washington: Frequent rainfall and cooler dampness require vigilant management to prevent chronic fungal outbreaks in container and raised-bed soil.
4 Proven Methods to Sterilize Garden Soil
Depending on the volume of soil you need to treat and the equipment available, you can choose from four primary sterilization methods: solarization, thermal oven baking, steam sterilization, and boiling water flushes.
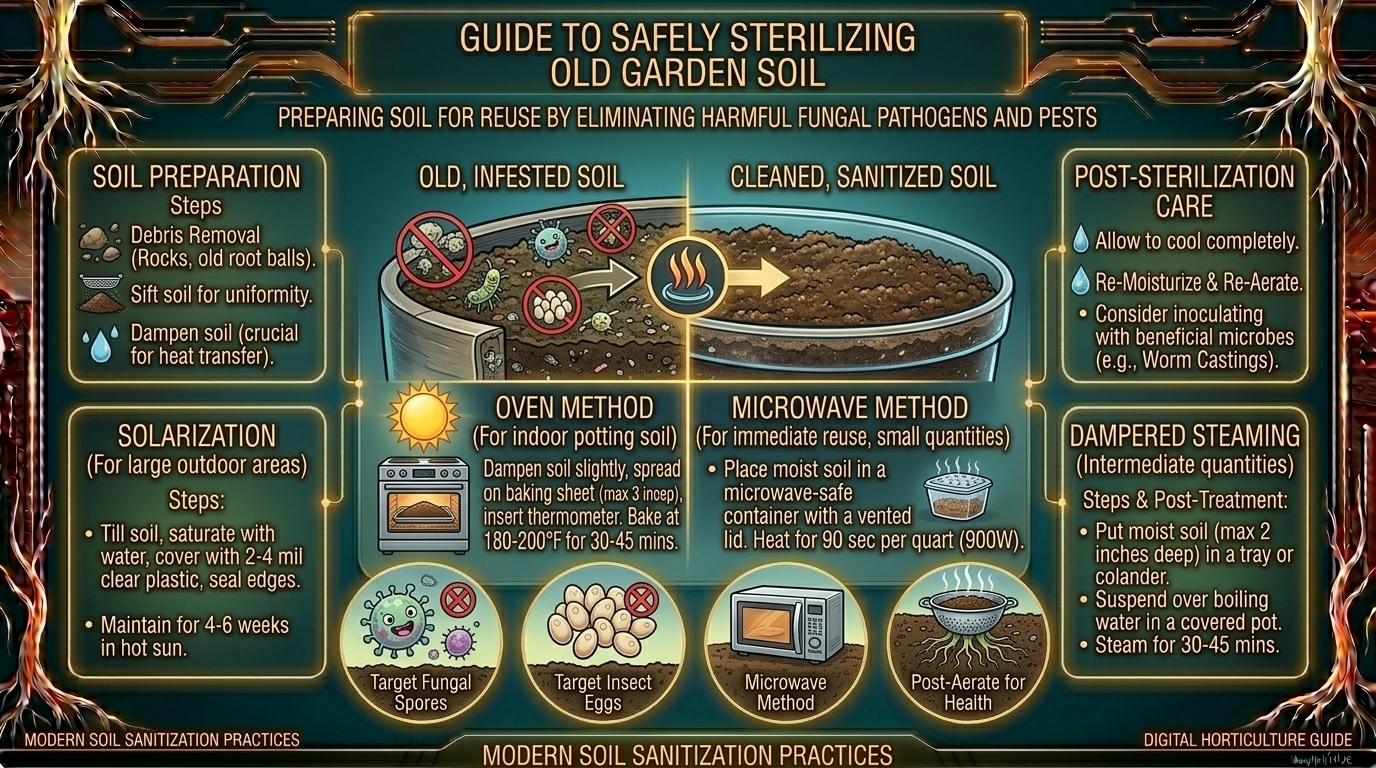
1. Solarization (Best for Large Garden Beds & Warm Climates)
Solarization uses the heat of the sun under clear plastic sheeting to pasteurize soil naturally. It is ideal for warmer regions like Texas and California.
- Step 1: Clear the garden bed of all plant debris, weeds, and large rocks. Rake the soil until it is completely smooth.
- Step 2: Water the soil deeply so it is moist down to a depth of at least 12 inches (moist soil conducts heat better than dry soil).
- Step 3: Cover the bed tightly with a clear, UV-resistant polyethylene plastic sheet (1 to 4 mils thick). Bury the edges of the plastic deeply in trenches to trap heat and moisture.
- Step 4: Leave the plastic in place for 6 to 8 weeks during the peak heat of summer.
2. Oven Baking (Best for Small Amounts of Container Soil)
For potted plants, indoor setups, or small balcony gardens common in San Francisco and New York, baking soil in an oven is fast and precise.
- Step 1: Moisten the soil slightly so it is damp, but not muddy.
- Step 2: Pack the soil into an oven-safe roasting pan or glass baking dish, covering it tightly with aluminum foil.
- Step 3: Insert a meat thermometer into the center of the soil mass. Bake in a preheated oven at 180°F to 200°F (82°C to 93°C) for 30 to 45 minutes.
- Warning: Do not let the soil temperature exceed 200°F (93°C), as high heat burns organic matter and releases toxic gases. Keep a window open, as the process creates a distinct earthy odor.
3. Steam Sterilization (Best for Medium-Sized Quantities)
Steaming is gentler than baking and preserves more of the beneficial microbial life while killing harmful pathogens.
- Step 1: Place a metal colander or wire basket lined with burlap or cheesecloth inside a large stockpot containing a few inches of water.
- Step 2: Add your damp garden soil into the cloth lining, ensuring it stays above the water level.
- Step 3: Cover the pot tightly and bring the water to a rolling boil, letting the rising steam penetrate the soil for 30 minutes.
4. Boiling Water Treatment (Quick Container Flush)
- Step 1: Place your soil in a porous container or colander outdoors.
- Step 2: Pour a steady stream of freshly boiled water evenly over the soil mass.
- Step 3: Allow the soil to drain completely and cool down before handling or planting.
Step-by-Step Guide: Preparing, Treating, and Rejuvenating Soil
Sterilization is only half the battle. Because high heat kills all microorganisms—both bad and good—you must restore life to your treated dirt before planting.
Step 1: Sift and Clean
Remove large roots, stones, and unburned plant debris using a ¼-inch hardware cloth or garden sieve.
Step 2: Apply Your Chosen Sterilization Method
Select the method that matches your volume and climate (Solarization for big beds; Oven or Steam for pots). Monitor temperatures carefully.
Step 3: Let the Soil “Rest”
Allow the sterilized soil to sit undisturbed for 1 to 2 weeks in a shaded area. This resting period allows any minor chemical imbalances to settle and cools the soil matrix completely.
Step 4: Re-inoculate with Beneficial Microbes
Because sterilized soil is a blank slate vulnerable to re-colonization by aggressive pathogens, you must reintroduce beneficial biology immediately. Mix in:
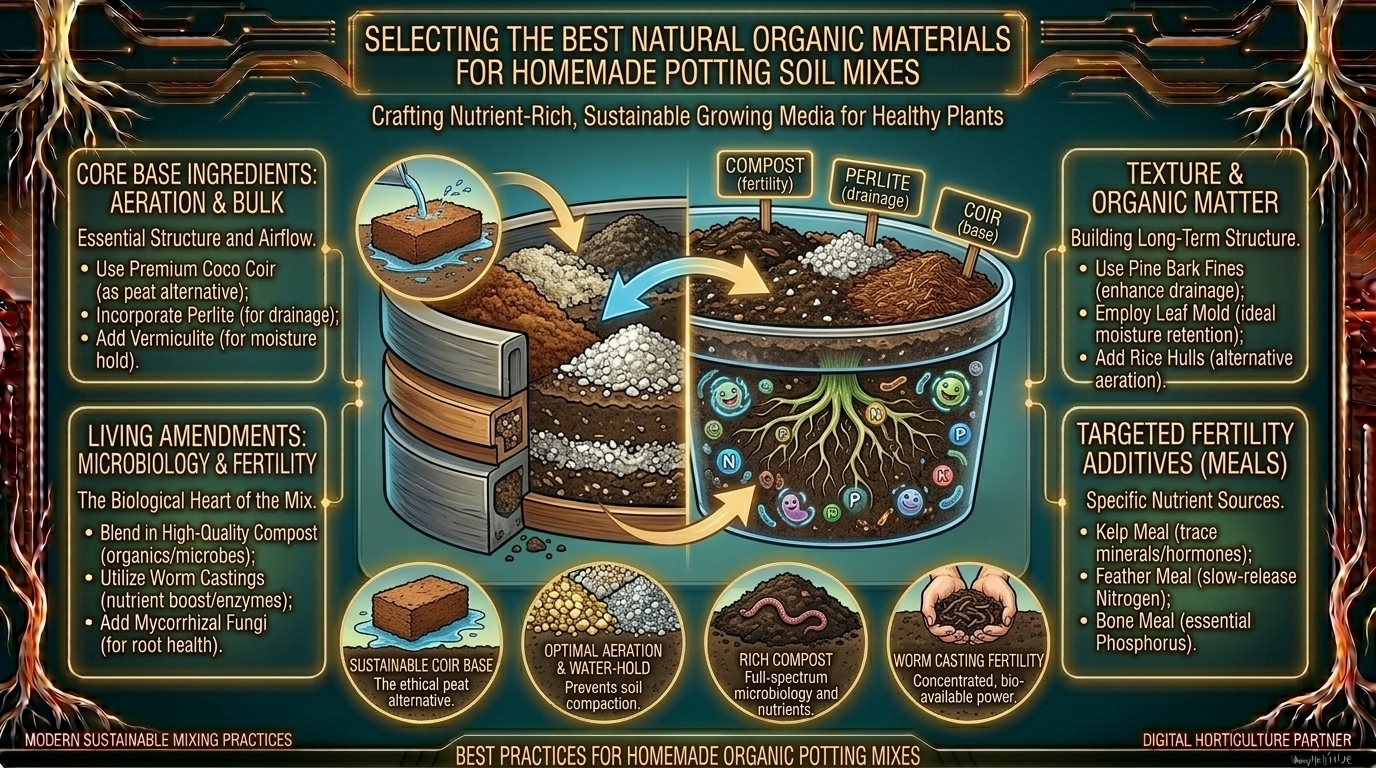
- High-quality organic compost or worm castings.
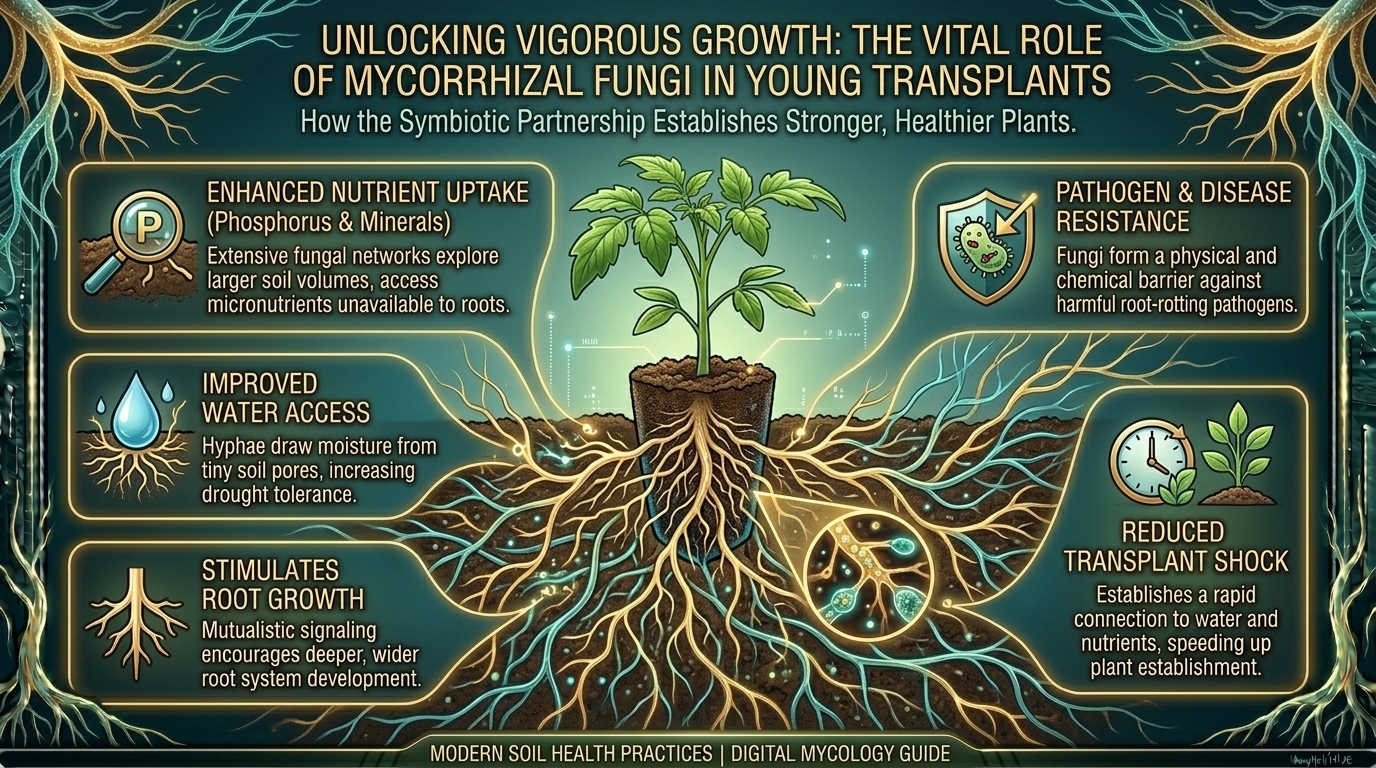
- Mycorrhizal fungi inoculants.
- A balanced slow-release organic fertilizer to restore depleted macro-nutrients.
Essential Tips for Success
- Moisture is Key: Dry soil is a poor thermal conductor. Always pre-moisten soil before applying heat or solarization.
- Avoid Overheating: Never let oven temperatures spike past 200°F. Overheating destroys soil structure and creates a toxic buildup of manganese.
- Sanitize Tools: Always wash your trowels, pots, and gardening gloves in a 10% bleach solution or rubbing alcohol before handling sterilized soil to prevent cross-contamination.
Frequently Asked Questions (FAQ)
1. Does sterilizing soil kill all beneficial bacteria?
Yes, thermal methods and intense solarization wipe out all biological life, including beneficial bacteria and earthworms. This is why re-inoculating the soil with compost or mycorrhizae after treatment is essential.
2. Can I use a microwave to sterilize small amounts of potting mix?
Yes. Place damp soil in a microwave-safe container with a loose lid and heat on high for 90 seconds to 3 minutes, depending on volume. Check to ensure it does not dry out or smoke.
3. How long does sterilized garden soil last?
If stored in a sealed, airtight container or heavy-duty plastic bag, sterilized soil can remain clean indefinitely. Once exposed to open air, wind, or unsterilized tools, it can quickly pick up new spores.
4. Is solarization effective in cooler climates like Washington State?
Solarization requires intense, direct sunlight and sustained high temperatures. While highly effective in Texas and California, gardeners in Washington and New York may find oven baking or steaming much more reliable due to milder summers.
5. Why does my soil smell strange when I bake it in the oven?
Heating soil breaks down organic matter, releasing trapped gases and carbon compounds. This odor is entirely normal, though running an exhaust fan or opening windows is recommended.
6. Can I reuse soil from plants that had root rot?
Yes, but you must sterilize it thoroughly. Fungi causing root rot can remain dormant for years; thermal baking or steaming is required to completely eradicate them before reuse.
7. What is the difference between soil pasteurization and sterilization?
Pasteurization (heating to around 160°F–180°F) kills harmful pathogens while sparing some heat-tolerant beneficial spores. True sterilization eliminates 100% of living organisms.
8. Do I need to fertilize my soil after sterilization?
Yes. The heat used during sterilization breaks down complex organic nutrients and flushes out available nitrogen. Adding compost and organic fertilizers restores optimal fertility.
9. Can I mix old garden soil with fresh potting mix instead of sterilizing?
While mixing works for minor adjustments, blending unsterilized old soil with fresh mix risks transferring hidden pests and fungal spores directly into your clean medium. Sterilization is always the safer route.
10. How do I know if my soil temperature reached the correct level?
Using a digital food or soil thermometer inserted into the thickest part of the soil mass during the heating process is the only foolproof way to confirm pathogen destruction without overheating.
Conclusion
Safely sterilizing your old garden soil is a powerful practice that bridges sustainability with garden health. By eliminating harmful fungal spores, persistent pests, and stubborn weed seeds, you lay a pristine foundation for your plants to flourish. Whether you are managing container arrangements on a sunny balcony or reviving raised beds across diverse growing regions, taking the time to properly sanitize and rejuvenate your soil guarantees a vibrant, disease-free garden season ahead.