Every thriving, abundant home garden—whether you are cultivating raised beds in Austin, Texas, managing a rooftop urban container garden in New York City, working with native earth in Washington state, or planting in a backyard plot in California and San Francisco—begins with one fundamental physical trait: soil texture.
Before you buy expensive seeds, invest in high-end organic fertilizers, or fret over watering schedules, you must know what your dirt is actually made of. Is it heavy, sticky clay? Is it loose, fast-draining sand? Or is it the holy grail of horticulture: perfectly balanced loam?
Many gardeners make the mistake of guessing their soil type by simply rubbing a handful of dirt between their fingers. While that provides a rough clue, professional horticulturists rely on a definitive, scientifically accurate at-home method known as the Jar Soil Test.
Using nothing more than a glass jar, water, a drop of dish soap, and a little bit of patience, you can separate your soil into its exact component layers and calculate your soil’s precise textural percentage. This comprehensive, expert-backed guide walks you through every step of the jar test, how to interpret your results, and how to improve whatever soil nature gave you.
1. What Is Soil Texture and Why Does It Matter?
Soil texture refers to the relative proportions of three core mineral particle sizes that make up your dirt:
- Sand (The Largest Particles): Ranging from 0.05 to 2.0 mm in diameter. Sand feels gritty, allows water to drain instantly, and aerates soil brilliantly, but it fails to hold onto moisture or vital nutrients.
- Silt (The Medium Particles): Ranging from 0.002 to 0.05 mm in diameter. Silt feels silky or powdery when dry and soapy or smooth when wet. It holds more moisture than sand but can easily compact.
- Clay (The Microscopic Particles): Measuring less than 0.002 mm in diameter. Clay particles are microscopic flat plates. When wet, they stick together tightly, holding onto massive amounts of water and nutrients, but when dry, they bake as hard as concrete and suffocate plant roots.
The Magic of Loam
When sand, silt, and clay exist in balanced proportions—roughly 40% sand, 40% silt, and 20% clay—the resulting soil is called loam. Loam is the ultimate garden soil because it retains enough moisture to keep plants hydrated while draining excess water quickly and maintaining rich air pockets for root respiration.
2. Step-by-Step Guide: The Glass Jar Soil Test
You do not need an expensive laboratory soil test to figure out your soil breakdown. Here is how to run the famous glass jar test in your own kitchen.
What You Need:
- A straight-sided glass jar (a clean mason jar or peanut butter jar works perfectly).
- A trowel or garden shovel.
- Liquid dish soap (about 1 teaspoon).
- Water.
- A ruler and a permanent marker or waterproof tape.
Step 1: Collect Your Soil Sample
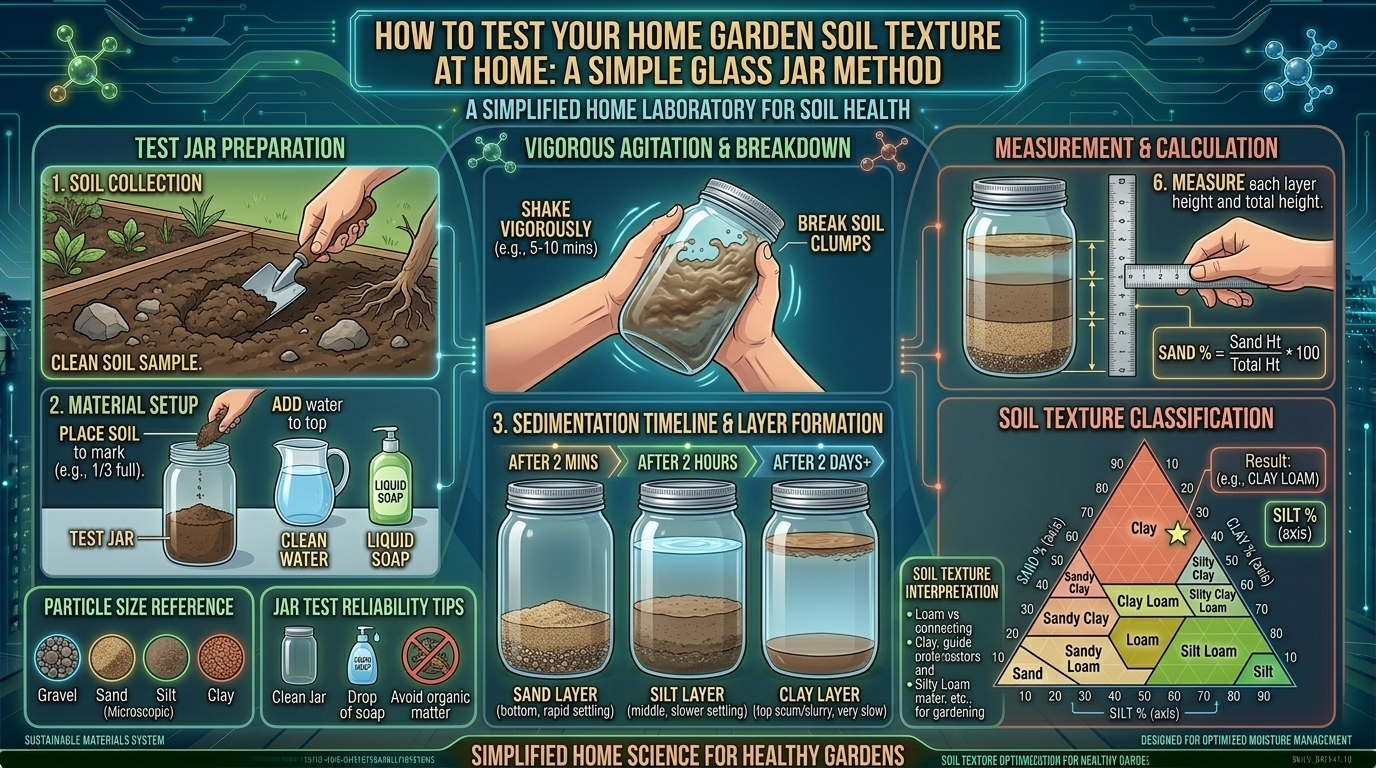
Do not just take soil from the very surface. Walk your garden beds and dig down about 4 to 6 inches. Remove any large rocks, sticks, or heavy root chunks. Break up the clumps so you have a representative sample of your garden’s root-zone dirt.
Step 2: Fill the Jar
Fill your glass jar about one-third full with your collected soil sample. Do not pack it down tightly; let it settle naturally.
Step 3: Add Water and Soap
Pour clean water into the jar until it is about three-quarters full, leaving a couple of inches of headroom at the top. Add one drop of liquid dish soap.
- Why soap? The surfactant in dish soap breaks the surface tension and separates organic soil aggregates, allowing sand, silt, and clay particles to settle out independently without clumping together.
Step 4: Shake Vigorously
Tightly seal the jar lid with your hand or cap. Shake the jar vigorously for 60 seconds. Make sure all the clumps at the bottom break apart and swirl into a muddy suspension.
Step 5: The First Settlement (Sand)
Set the jar down on a flat, vibration-free surface right next to a window or light source.
- Time check: Start a timer immediately.
- Sand settles first. Within exactly 1 minute, all the heavy, gritty sand particles will drop out of suspension and settle as a distinct layer at the very bottom of the jar.
- Action: Immediately take your marker or tape and draw a line on the outside of the jar marking the top of this sand layer.
Step 6: The Second Settlement (Silt)
Leave the jar completely undisturbed.
- Time check: Wait exactly 2 hours.
- During this time, the medium-sized silt particles will slowly settle out, forming a second, slightly lighter-colored layer sitting directly on top of your sand layer.
- Action: Draw a second line on the jar marking the top of this silt layer.
Step 7: The Final Settlement (Clay)
Now comes the test of patience. Clay particles are so microscopic that they remain suspended in the cloudy water for hours or even days.
- Time check: Wait 24 to 48 hours (sometimes up to 72 hours if your soil is heavy clay) until the water above the sediment clears completely.
- The final, smoothest, darkest layer resting on top of the silt is your clay layer.
- Action: Draw your final third line marking the top of the clay layer.
3. Calculating Your Soil Texture Percentage
Now that you have three distinct layers marked on your jar, you can determine your exact soil composition mathematically.
- Measure the thickness of each layer: Using your ruler, measure the height in millimeters or inches from the bottom of the jar to each line:
- Thickness of Sand Layer
- Thickness of Silt Layer
- Thickness of Clay Layer
- Calculate the total soil height: Add the three measurements together to get your Total Soil Height.
- Calculate percentages: Divide each individual layer’s height by the total soil height and multiply by 100.
- (Sand height ÷ Total height) × 100 = % Sand
- (Silt height ÷ Total height) × 100 = % Silt
- (Clay height ÷ Total height) × 100 = % Clay
Once you have your percentages, look at a standard USDA Soil Texture Triangle chart online to pinpoint whether your garden is sandy loam, silty clay, sandy clay loam, or true garden loam.
4. How to Fix Your Soil Based on Your Jar Test Results
No matter what your glass jar test reveals, you can always amend your native soil to optimize it for vegetable gardening.
If Your Jar Shows Heavy Sand:
- The Problem: Water and nutrients wash right through before roots can drink.
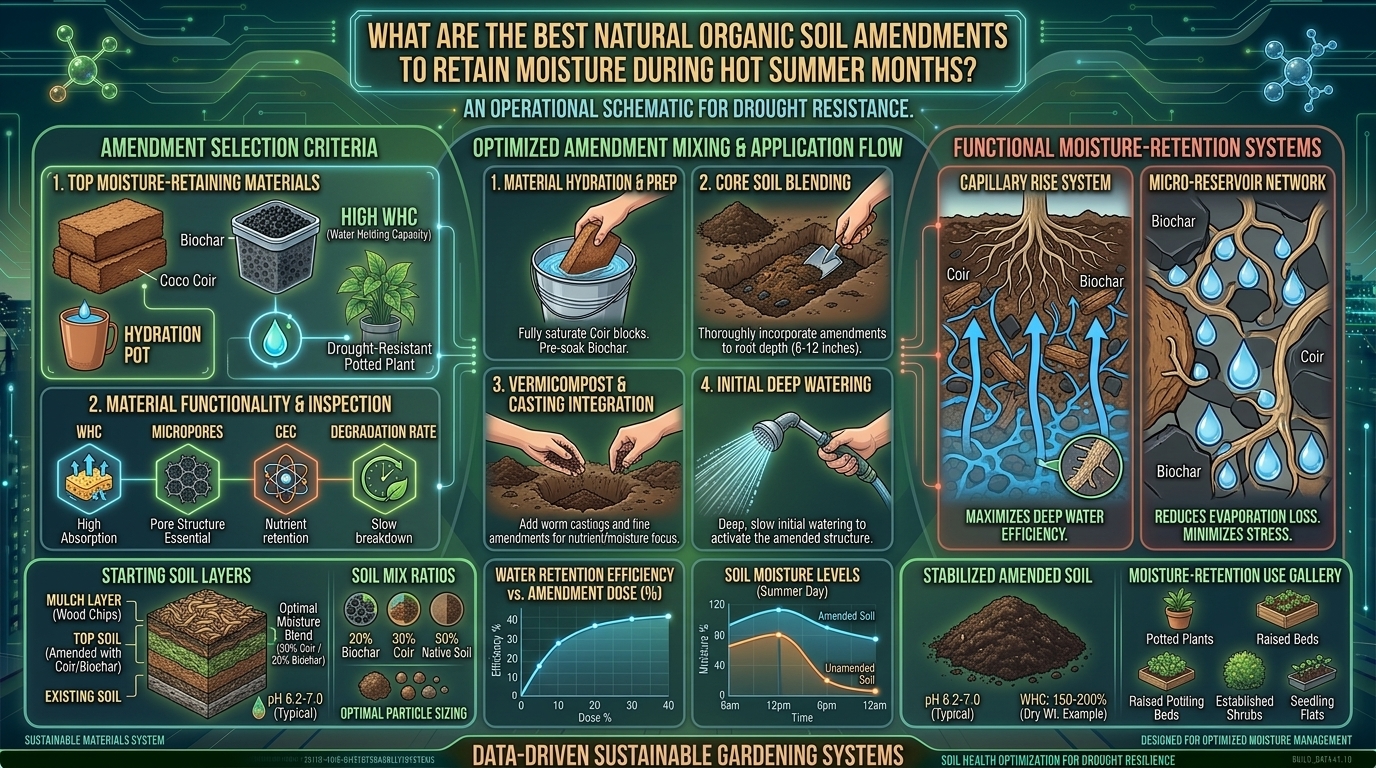
- The Fix: Incorporate massive amounts of organic compost, aged manure, and coco coir. These materials act like sponges, locking water and nutrients into the loose sand matrix.
If Your Jar Shows Heavy Clay:
- The Problem: Soil packs down tightly, suffocates roots, and turns concrete-hard when dry.
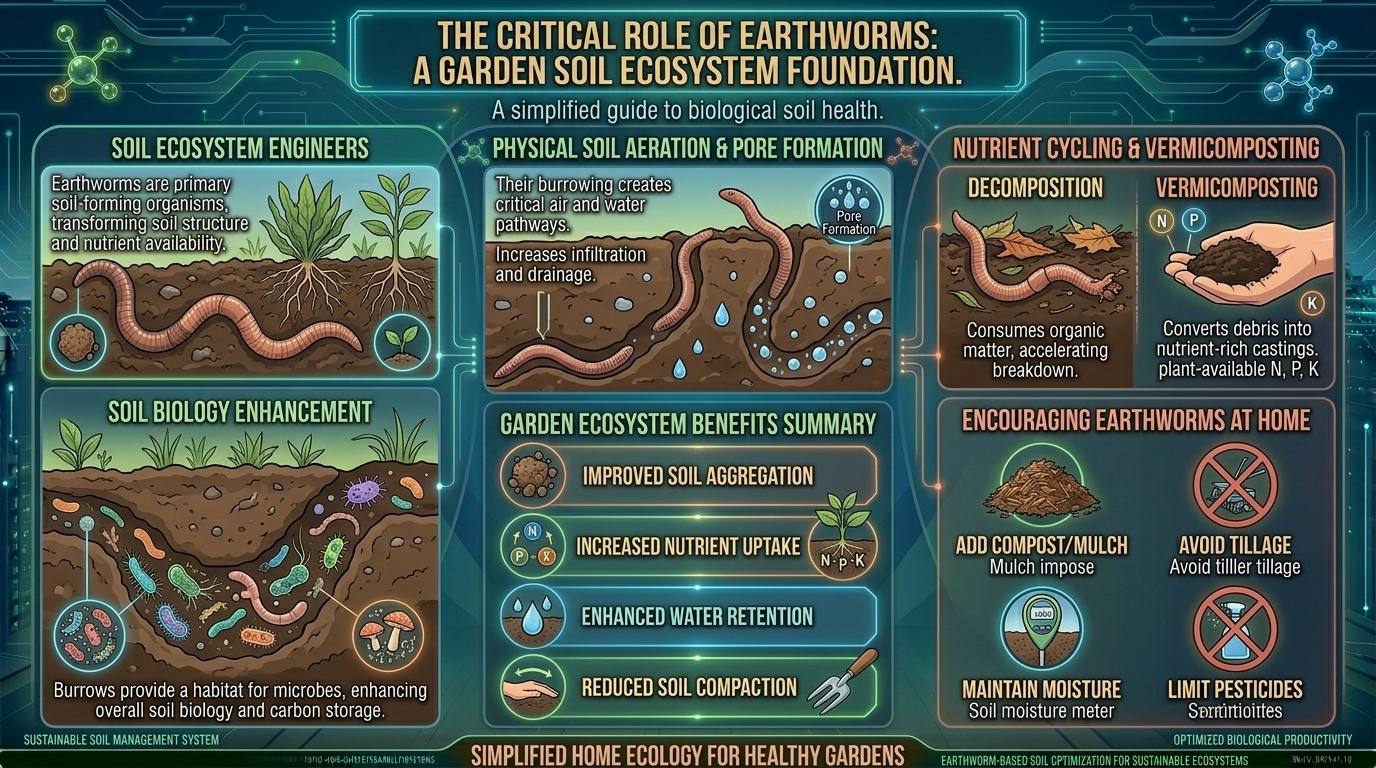
- The Fix: Never dig or till wet clay, as this shatters its structure further. Instead, amend it with organic compost and coarse organic matter (like chopped leaves or bark fines). Over time, earthworms and soil microbes will turn heavy clay into a crumbly, rich topsoil. Avoid adding just sand to clay, as mixing sand and clay without enough organic matter literally creates sub-grade brick mortar!
5. Frequently Asked Questions (FAQ)
1. What if my water is still cloudy after 48 hours?
If your water remains murky after two days, it means your soil contains an exceptionally high percentage of ultra-fine colloidal clay or suspended organic matter. Give it another 24 hours, or measure the distinct boundary where the solid sediment stops and the cloudy water begins.
2. Can I use this test for container potting soil mixes?
The jar test is designed primarily for mineral garden dirt (native soil). Packaged commercial potting mixes for containers are usually made of mostly organic matter (peat moss, coco coir, bark) and perlite rather than sand, silt, and clay, so the jar test results will not apply in the same way.
3. Does organic matter show up in the jar test?
Lightweight organic matter (bits of leaves or unrotted roots) will typically float to the very top of the water column as a floating debris layer. True soil texture measures mineral particles (sand, silt, and clay), so ignore floating organic debris when measuring your three core mineral layers.
4. How accurate is the glass jar test compared to a professional lab test?
While a professional laboratory soil test using a spectrophotometer is more precise, the glass jar test is remarkably accurate for determining your broad textural classification (such as loam, sandy loam, or clay loam) for home gardening purposes.
5. Why is my sand layer so much bigger than everything else?
If your soil sample came from a region with ancient riverbeds, coastal plains, or certain parts of California or Texas, sandy parent material dominates the local geology. You will simply need to build up organic matter levels through regular composting.
6. Do I need to test different areas of my yard separately?
Yes! Soil texture can vary wildly even within the same backyard. If you have a front garden bed that performs differently than your backyard vegetable plot, run a separate glass jar test for each distinct growing zone.
7. Does soil texture change over time?
The core mineral percentages (sand, silt, and clay) remain virtually constant because you cannot easily change your underlying geological parent material. However, you can dramatically improve your soil’s effective texture and structure by continuously adding organic matter year after year.
8. What is the best soil texture for growing tomatoes and peppers?
Tomatoes and peppers thrive in a sandy loam soil (roughly 60% sand, 30% silt, and 10% clay). This texture provides the rapid drainage they love while retaining enough moisture and nutrients to support heavy fruit production.
9. Can I fix clay soil by adding gypsum?
Yes! If your jar test shows heavy clay, applying agricultural grade natural gypsum (calcium sulfate) helps break apart tightly bound clay particles without altering your soil pH, improving drainage and aeration.
10. Why did my soil layers form in that specific order?
Physics! Sedimentation is governed by particle weight and density. The heaviest, largest particles (sand) drop out first within 60 seconds. The medium-sized particles (silt) settle next over 2 hours, and the lightest, microscopic flat plates (clay) settle last.
Conclusion
Testing your home garden soil texture using a simple glass jar is an eye-opening, satisfying DIY project that takes the guesswork out of gardening. By revealing the exact percentages of sand, silt, and clay hiding in your dirt, you can tailor your organic amendments, watering habits, and crop choices to match your unique land.