Caring for indoor houseplants is a deeply satisfying pursuit that transforms any indoor space—whether you are styling a sunlit loft in San Francisco, a high-rise apartment in New York, a modern home in Texas, or vibrant residential spaces across California and Washington—into a thriving, living sanctuary.
When you purchase a new houseplant from a nursery or plant boutique, it almost always arrives housed in a flexible, lightweight plastic nursery pot. These pots are industry standards for mass propagation, offering excellent drainage and lightweight shipping. However, they are designed as temporary homes, not permanent habitats.
Eventually, a healthy houseplant will outgrow its container. If you fail to notice the warning signs, your plant will suffer from nutrient depletion, stunted growth, and severe root congestion.
Brought to you by kcplants.com, this comprehensive, expert-led masterclass breaks down the definitive physical and biological signs that your indoor houseplant has completely outgrown its plastic nursery pot, along with actionable tips on when and how to upgrade.
Part I: Why Plastic Nursery Pots Have a Strict Expiration Date
To understand why repotting is non-negotiable, we must look at how plant roots behave inside a restrictive container:
- The Root-Bound Spiral: In nature, plant roots expand outward and downward in search of moisture and nutrients. Inside a rigid or semi-flexible plastic nursery pot, roots hit the impenetrable inner wall. Lacking anywhere else to go, they begin spiraling tightly around the perimeter of the root ball, creating a dense, tangled mat.
- Nutrient Depletion: Over time, the organic potting mix inside a small nursery pot breaks down, decomposes, and loses its structural integrity. Furthermore, the plant absorbs all available nitrogen, phosphorus, and potassium, leaving the soil completely exhausted.
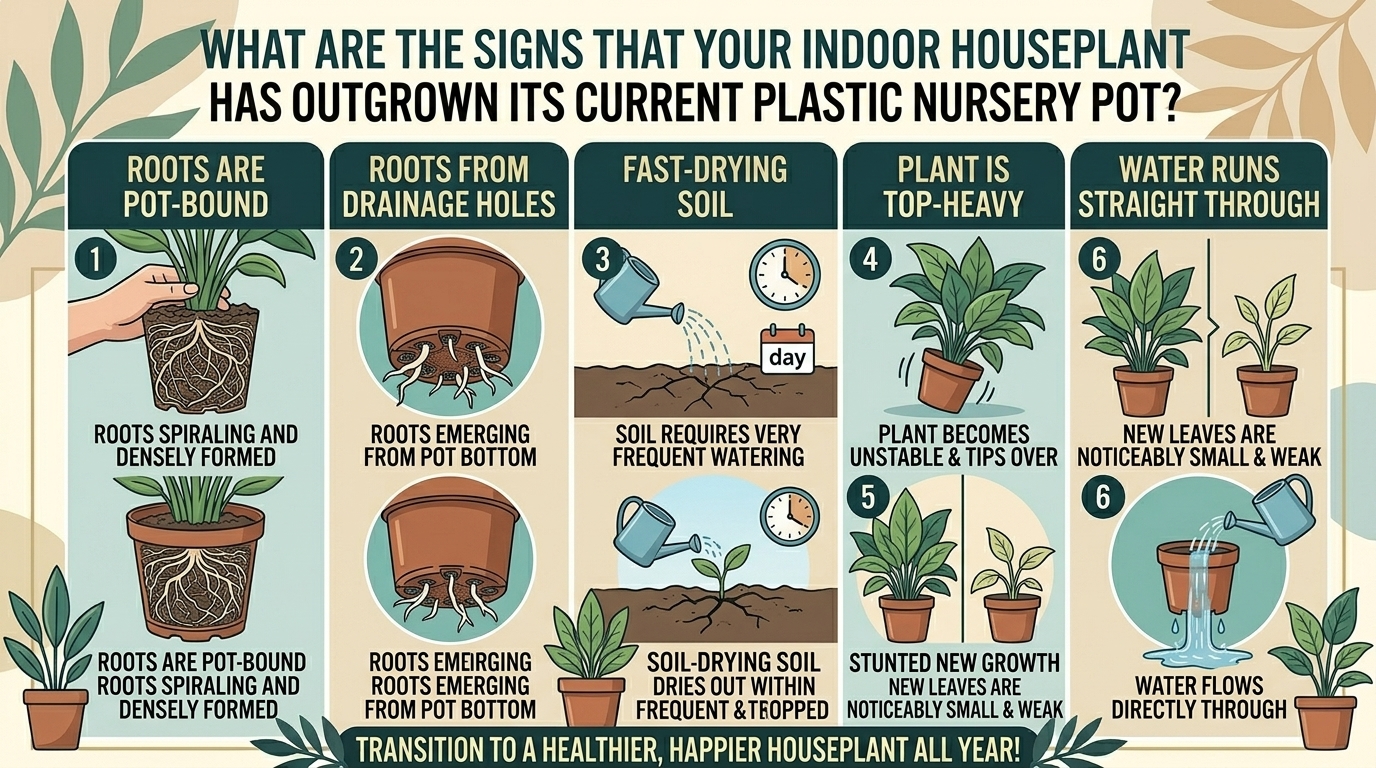
- Soil Compaction and Water Runoff: When roots crowd the pot, there is virtually zero soil left. Water poured over the top simply runs straight through the drainage holes without being absorbed, leaving the plant perpetually thirsty despite frequent watering.
Part II: The 7 Telltale Signs Your Plant Has Outgrown Its Pot
How do you know it is time to slide your plant out of its plastic container and give it a roomier upgrade? Look for these seven unmistakable warning signs:
1. Roots Emerging From Bottom Drainage Holes
- The Sign: Thick, fleshy, or fine white roots are poking out of the plastic drainage slits at the bottom of the pot, or even anchoring themselves directly into your saucer or table surface.
- Why It Happens: This is the most definitive physical indicator that the root ball has reached 100% capacity and is desperately searching for extra space and moisture.
2. Roots Circling the Surface or Lifting the Plant
- The Sign: You notice a dense web of roots circling the top surface of the soil, or the entire plant is being physically pushed upward and out of the pot like a cork leaving a bottle.
- Why It Happens: With no room left at the bottom or sides, aggressive root expansion forces the root mass upward, exposing upper roots to dry indoor air.
3. Stunted, Slowed, or Suspended Growth
- The Sign: Your plant was growing vigorously all spring and summer, but suddenly all new leaf production has ground to a complete halt, even though light and watering routines remain identical.
- Why It Happens: A root-bound plant lacks the physical root volume required to take up water and nutrients efficiently, forcing it into a state of arrested development to survive.
4. Rapid Drying Out and Frequent Watering
- The Sign: You find yourself having to water the plant every single day (or every other day), whereas it used to hold moisture for a week or more.
- Why It Happens: The pot is now 95% dense roots and only 5% soil. There is simply no volume of soil left to retain moisture, causing the pot to dry out almost instantaneously.
5. The Plant Becomes Top-Heavy and Tips Over Easily
- The Sign: Your plant’s upper foliage has grown large and lush, but the light plastic nursery pot is so lightweight that the plant constantly wobbles or topples over at the slightest breeze or bump.
- Why It Happens: The weight of the canopy has outstripped the anchoring capacity of the cramped root ball, creating an unstable center of gravity.
6. Soil Water Repellency (Hydrophobic Soil)
- The Sign: When you water your plant, the water pools on top of the soil or immediately rushes down the inner plastic walls, refusing to soak in.
- Why It Happens: The old potting mix has broken down into fine dust or become tightly compressed by circling roots, turning hydrophobic and rejecting moisture entirely.
7. Visible Nutrient Deficiencies (Chlorosis and Wilting)
- The Sign: Lower leaves turn pale yellow, drop off prematurely, or develop brown tips, despite proper watering and lighting.
- Why It Happens: The soil has been completely stripped of all minerals and organic nutrients, starving the plant’s cellular machinery.
Part III: The “Gently Squeeze” Test
If your plant is not showing obvious roots at the bottom yet you suspect it is root-bound, perform the Plastic Pot Squeeze Test:
- Hold the base of the plant stems gently with one hand.
- With your other hand, gently squeeze the sides of the flexible plastic nursery pot all the way around its circumference.
- If the pot feels like a solid, unyielding brick of concrete rather than flexible plastic, the root ball inside is completely compacted and desperately needs to be unpotted and upgraded.
Part IV: Regional and Seasonal Repotting Guidelines
Depending on where you live across our key regions, timing your repotting session matters:
- San Francisco & New York (Urban Apartments): Urban homes often experience stable indoor climate control year-round. However, natural daylight hours drop sharply in winter. Always aim to repot your plants in spring or early summer when active growth hormones are surging, allowing plants to recover from transplant shock rapidly.
- Texas, California, & Washington: Warm spring temperatures in Texas and California kickstart plant metabolisms early, making March through June the ideal repotting window. In Washington, waiting for brighter spring days ensures your freshly potted plants adjust smoothly without winter gloom slowing their root recovery.
Part V: Pro Tips for Selecting Your New Pot
- Size Up Gradually: Never jump from a 4-inch nursery pot straight to a massive 12-inch decorative planter. Always select a new pot that is only 1 to 2 inches larger in diameter than the current pot. Oversizing leaves excess wet soil around the roots, inviting root rot.
- Always Prioritize Drainage: Ensure your new container—whether ceramic, terracotta, or a larger decorative pot—features at least one functional bottom drainage hole.
10 Frequently Asked Questions (FAQ)
1. What happens if I leave my houseplant in a plastic nursery pot forever?
If left indefinitely, the plant will become severely root-bound, circle its roots until it strangles itself, exhaust all soil nutrients, and eventually experience stunted growth, leaf drop, and decline.
2. Can I keep my plant in a plastic nursery pot and just put it inside a decorative cachepot?
Yes! Many plant owners keep plants in their lightweight plastic nursery pots and drop those pots inside a solid decorative outer pot (cachepot). This allows for easy bottom watering and hassle-free repotting later.
3. How much larger should my new pot be?
Always choose a new pot that is only 1 to 2 inches larger in diameter than the previous pot. Stepping up too much leaves excess soil that stays wet too long, causing root rot.
4. What is the best time of year to repot indoor houseplants?
Spring and early summer are the ideal seasons. During this window, plants enter their active growth phase, making it much easier for them to bounce back from transplant shock.
5. Do all plants hate being root-bound?
Not all! Some plants—such as Snake Plants, Hojas, Agapanthus, and Peace Lilies—actually prefer being slightly root-bound and will bloom or push out new growth more vigorously when snug. However, even they eventually outgrow their pots.
6. What should I do if roots are severely tangled and circling at the bottom?
Gently tease the tangled root mass apart with your fingers to loosen the outer roots. If roots are extremely matted, you can use a clean knife to make 3 or 4 vertical shallow cuts down the sides of the root ball to encourage outward growth.
7. Should I fertilize my plant immediately after repotting?
No. Fresh commercial potting mix already contains trace starter nutrients, and fertilizing freshly disturbed roots can cause chemical fertilizer burn. Wait at least 4 to 6 weeks before feeding.
8. Why is my plant drooping right after I repotted it?
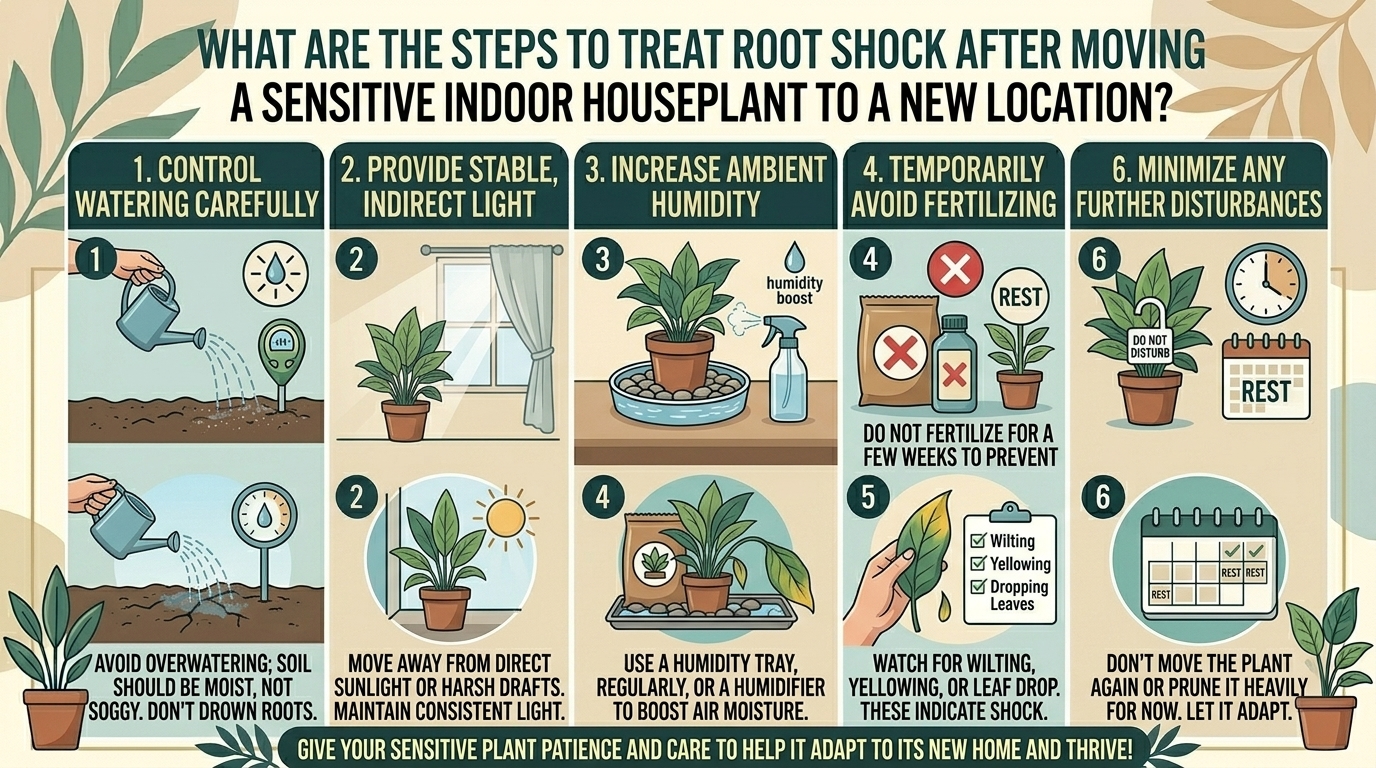
This is classic transplant shock. The plant’s root hairs experienced minor disruption. Place the plant in bright, indirect light, keep the soil evenly moist (not soggy), and give it a week to adjust.
9. Should I water my plant right after repotting?
Yes, give your plant a thorough watering right after repotting to help settle the new soil mix snugly around the root system (unless you are repotting a succulent or snake plant, where waiting a few days is recommended).
10. Can I reuse old soil from the old plastic pot?
It is best to discard old, depleted soil. It often lacks nutrients, may harbor pest eggs or fungal spores, and has broken down structurally. Always use fresh, premium indoor potting mix.
Conclusion
Recognizing the signs that your indoor houseplant has outgrown its plastic nursery pot is an essential skill for every plant parent. By watching for roots emerging from drainage holes, stunted growth, and rapid soil drying, you can time your container upgrades perfectly. Give your green companions the breathing room they need to thrive! Visit kcplants.com regularly for expert plant care guides, tips, and inspiration to help your indoor jungle flourish!