How to Rescue an Overwatered Indoor Houseplant That Is Showing Severe Signs of Root Decline
Welcome to kcplants, your trusted digital sanctuary for urban gardening and houseplant care. Whether you are managing a cozy apartment in New York City or San Francisco, balancing indoor humidity in Washington, or battling intense indoor heating and cooling systems in Texas and California, plant parenthood comes with its fair share of learning curves.
One of the most terrifying moments for any plant lover is walking up to a cherished green companion and realizing it is suffering from severe overwatering. Drooping yellow leaves, mushy black stems, and a heavy, foul-smelling pot can send anyone into a panic. But do not despair! Even when a houseplant is displaying advanced signs of root decline, there is a proven, step-by-step emergency protocol to pull it back from the brink of death.
Below is your definitive, master-level guide to diagnosing, treating, and successfully rehabilitating an overwatered houseplant.
1. Introduction: Understanding Root Decline and Overwatering
When people hear “overwatered,” they often assume it simply means the plant has been given too much water at once. In reality, overwatering is a condition of oxygen starvation.
Healthy soil is a complex matrix of organic matter, minerals, and microscopic air pockets. When you water a plant, gravity pulls moisture down while fresh air is sucked into the soil as it drains. However, if a plant is watered too frequently, or if the soil lacks adequate drainage, water fills up every single air pocket.
Without oxygen, the root cells begin to suffocate and die. Once roots die, they rot—turning into a soft, brown or black, foul-smelling mush. Bacteria and fungi thrive in this anaerobic environment, rapidly attacking the remaining healthy root tissue. Once root decline sets in, the plant can no longer take up water or nutrients, leading to the misleading symptoms of wilting and drooping—even though the soil is soaking wet.
2. Recognizing the Signs: Symptoms of Severe Root Decline
Before diving into surgery, you must accurately diagnose the problem. Overwatering symptoms often mimic underwatering, which leads many well-meaning owners to add more water, sealing the plant’s fate. Look for these distinct red flags:
- Limp, Yellowing Lower Leaves: Unlike underwatering (where leaves turn crispy, brown, and crunchy), overwatered leaves usually turn pale yellow, translucent, and feel soft, mushy, or waterlogged.
- Persistent Drooping Despite Wet Soil: If your finger goes an inch into the dirt and comes out wet, yet the plant is sagging limply, the roots are too damaged to transport hydration upward.
- Edema (Blisters and Bumps): Swollen cells on the underside of leaves that rupture and cork over, caused by roots taking in water faster than the leaves can transpire it.
- Foul, Swampy Odor: A healthy plant pot smells like fresh earth. A rotting root ball smells sour, moldy, or like stagnant swamp water.
- Stunted Growth and Stem Rot: The base of the stem near the soil line turns dark brown, soft, or squishy.
3. Regional Challenges: Climate Impacts on Soil Drying
Your local environment heavily influences how fast your soil dries out, making certain regions more prone to root issues if care routines aren’t adjusted:
- San Francisco & Washington: High ambient humidity, cool coastal fog, and overcast skies mean indoor soil retains moisture significantly longer. Plants that dry out in 5 days in summer might take 14 days to dry out in an SF fog bank or a damp Washington winter. Adjusting your watering cadence to the weather is vital.
- New York: Winter indoor heating systems create hyper-dry air, but they also bake the top layer of soil while the bottom of the pot stays damp. Homeowners often misjudge moisture depth, watering the top crust while the roots drown below.
- Texas & California: Intense heat waves push growers to water more frequently, but sudden shifts into air-conditioned indoor spaces can slow a plant’s metabolic rate down instantly, catching owners off guard with lingering damp soil.
4. Emergency Tools and Materials Needed
To perform successful plant surgery and root rehabilitation, assemble your workstation ahead of time:
- A Healthy Dose of Patience: Recovery takes time—usually weeks or months.
- Fresh, Well-Draining Soil: A premium organic houseplant mix blended generously with perlite, pumice, or orchid bark (roughly a 2:1 soil-to-aeration ratio).
- A Clean Nursery Pot: Preferably one with wide drainage holes at the bottom. (If reusing an old pot, sterilize it with a 10% bleach solution first to kill lingering fungi).
- Sharp, Sterilized Shears or Scissors: Cleaned with rubbing alcohol to prevent introducing secondary bacterial infections.
- Hydrogen Peroxide (3%): A fantastic tool for sterilizing remaining root systems and oxygenating the soil.
- Clean Paper Towels or Newspaper.
5. Step-by-Step Emergency Rescue Protocol
Step 1: Gentle Extraction and Root Inspection
Carefully tip your plant sideways and ease it out of its current pot. If it is stuck, gently squeeze the plastic sides or run a butter knife around the inner rim. Once free, gently shake and brush away as much wet, heavy soil from the root ball as possible. You can even submerge the root mass in a bucket of lukewarm water to wash away stubborn mud, giving you a clear view of the damage.
Step 2: The Great Root Surgery (Triage)
Lay the bare roots out on a flat surface and inspect them closely. You will notice two distinct types of tissue:
- Healthy Roots: Firm, light-colored (white, tan, or yellowish depending on the species), and plump.
- Rotten Roots: Dark brown or black, slimy, mushy, or stringy. When pulled gently, the outer sheath often slips right off, leaving a thin, thread-like core.
- The Action: Using your sterilized shears, ruthlessly cut away every single piece of rotting, mushy root. Do not be squeamish—leaving dead tissue behind is like leaving gangrene in a wound; it will spread and kill the healthy parts. It is better to remove 80% of rotting roots than to leave a single infected strand.
Step 3: Sterilizing and Oxygenating
Once you are left with only firm, healthy root material, rinse the remaining root ball gently. To give your plant an extra fighting chance, spray or dab the roots with a diluted solution of 3% hydrogen peroxide and water (equal parts). It will fizz slightly as it oxidizes anaerobic bacteria and floods the root zone with pure oxygen molecules.
Step 4: Air-Drying the Root Ball
Place the pruned plant on a clean layer of paper towels in a warm, shaded, well-ventilated spot for 2 to 4 hours (or even overnight for thick-stemmed tropicals). Let the fresh cuts callous over slightly. This crucial step stops any lingering pathogens from entering the plant via open wounds.
Step 5: Repotting in Fresh, Fast-Draining Soil
Select a pot that is appropriately sized for your remaining root system. Pro tip: Do not upsize! If you cut away half the roots, downsize to a slightly smaller pot or match the pot size to the compact root mass. Filling a massive pot with fresh soil around a small root ball will only trap moisture and cause the cycle to repeat. Fill the pot with your fresh, dry, highly aerated organic mix, tucking it snugly around the roots without packing it down too densely.
Step 6: The Post-Repotting Watering Dilemma
Should you water immediately after repotting?
- The Rule for Severe Root Rot: Wait. Because the roots have been traumatized, pruned, and are vulnerable to remaining dampness, wait 3 to 5 days before giving the plant its first light drink. This forces the remaining roots to actively seek out moisture in the slightly dry soil, encouraging new root growth.
6. Long-Term Recovery and Rehabilitation Care
Once your plant is safely repotted, its metabolism will be in an intensive care state. Follow these golden rules for the next 4 to 8 weeks:
- Provide Bright, Indirect Light: Keep the recovering plant out of harsh, direct sunlight, which will stress it further. Bright, filtered ambient light provides the energy it needs to push out new foliage and roots without demanding massive amounts of water.
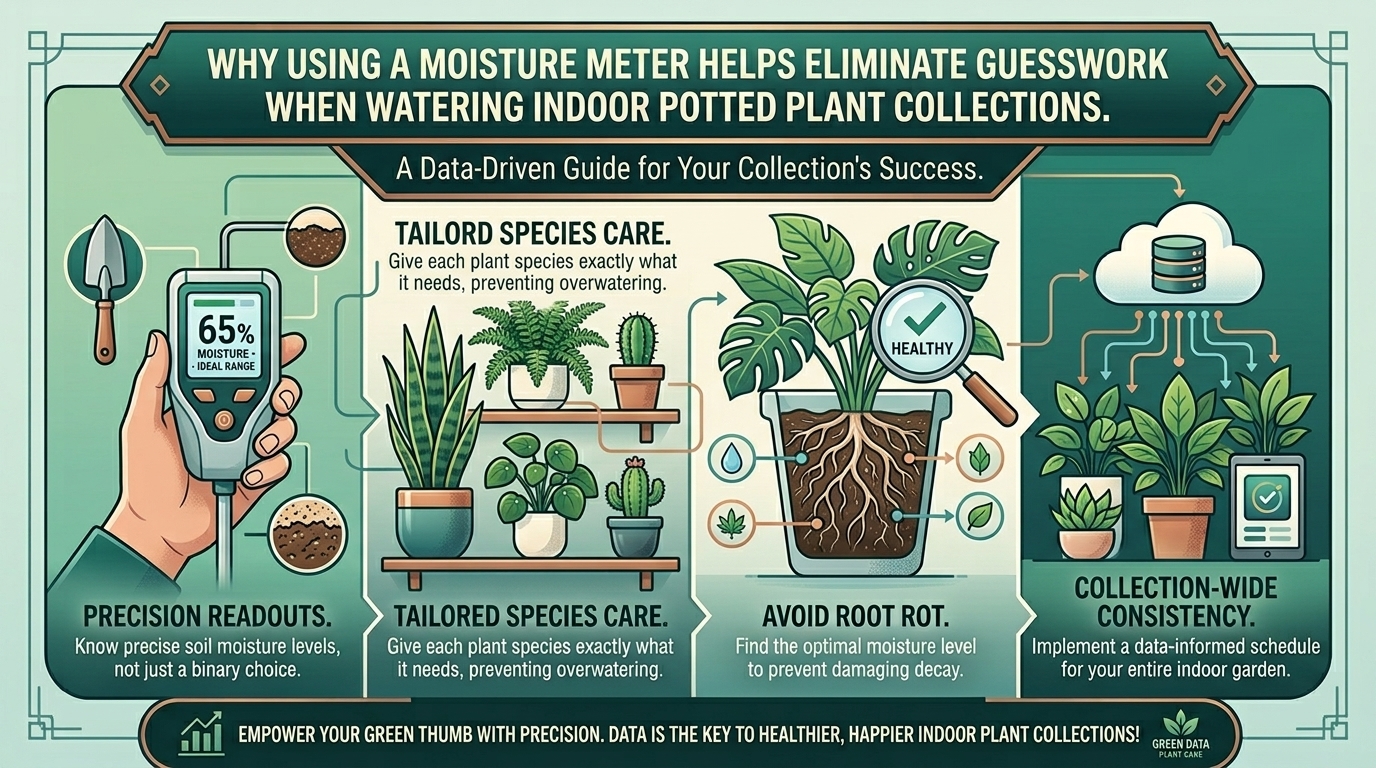
- Adopt the “Check Before You Water” Habit: Never water on a strict schedule. Always stick your finger 2 inches deep into the soil. If it feels cool or moist, leave it alone.
- Hold Off on Fertilizer: Do not feed a recovering plant! Chemical or organic fertilizers contain salts that can easily burn and stress fragile, healing root tips. Wait until you see strong, active new top-growth before resuming a light, diluted feeding schedule.
7. Advanced Rescue Techniques: Water Propagation Fallback
If you inspect your plant and realize 100% of the root system is completely rotted and the stem base is mushy, all hope is still not lost! You can convert a dying soil plant into a water propagation project:
- Use your sterilized shears to cut completely above the rotten stem base into healthy, clean, green tissue (look for a cross-section of firm stem with no brown rings).
- Place the freshly cut stem or remaining healthy node into a clean glass of filtered water, ensuring only the lower stem is submerged while leaves stay dry.
- Change the water every 3 to 5 days.
- Within a few weeks, fresh, water-adapted roots will emerge, allowing you to eventually transition the plant back into soil once a robust root network has formed.
8. Frequently Asked Questions (FAQ)
- How do I know if my plant is overwatered or underwatered? Check the soil depth and leaf texture. If the soil is wet and the leaves are mushy and yellow, it is overwatered. If the soil is bone-dry and leaves are crispy and brown, it is underwatered.
- Can I reuse the old soil from the overwatered pot? No, it is best to discard or thoroughly sanitize old rotting soil. It is usually compacted, devoid of oxygen, and teaming with fungal spores and bacteria that caused the rot in the first place.
- Why did my plant get root rot even though I only watered it once a week? “Once a week” is a trap. Soil drying speed depends on ambient humidity, pot material (plastic retains water longer than terracotta), plant size, and indoor temperature. If the soil hasn’t dried out in 7 days, watering it again will cause chronic overwatering.
- Should I cut off all the yellow leaves after repotting? You can trim away completely dead or rotting leaves, but leave slightly yellowed leaves for a short time if they are still flexible. The plant will pull remaining sugars and nutrients out of them before letting them drop naturally.
- How long does it take for an overwatered plant to recover? Recovery times vary wildly based on the plant species and severity of damage. Fast-growing tropical plants (like Pothos or Monsteras) can show signs of new growth in 3 to 4 weeks, while woody or slow-growing plants can take several months.
- Is terracotta better than plastic for preventing overwatering? Yes! Terracotta is porous, allowing moisture to evaporate through the walls of the pot as well as out the top and bottom drainage holes, making it much harder to accidentally overwater your plants.
- What is “damping off” and is it related to root rot? Damping off is a fungal condition affecting seedlings and young cuttings at the soil line, causing them to collapse. While distinct from adult root rot, both thrive in waterlogged, poorly ventilated, anaerobic soil conditions.
- Can I use cinnamon as a natural fungicide on cut roots? Yes! Ground cinnamon is a mild natural antifungal and antibacterial agent. Many indoor gardeners dust freshly pruned roots or stem cuttings with cinnamon to protect against pathogens before repotting.
- Why are the tips of my leaves turning brown even though the soil is wet? This is a classic paradox of root rot. Because the roots are dead and cannot move water up to the extremities, the farthest parts of the plant (leaf tips and margins) dry out and die of dehydration, despite the wet soil below.
- How can I improve heavy potting soil so it doesn’t hold too much water? If your soil is too dense, mix in up to 30% to 50% inorganic amendments like coarse perlite, horticultural pumice, or orchid bark. This creates permanent air channels that prevent future compaction and waterlogging.
9. Conclusion
Rescuing an overwatered houseplant with severe root decline requires courage, a pair of sharp shears, and a willingness to get your hands dirty. By diagnosing the root cause, ruthlessly excising dead tissue, providing a fresh, well-aerated home, and adjusting your watering habits, you can turn a botanical disaster into a thriving success story.